Each spring, when I pull my rig out for my first fishing trip of the new season, I always recall the comment of a former fishing partner on the way to our first tournament of the season. We were on our way to the Potomac River, and he commented, "I hope this thing starts ok." I questioned him why he would make such a comment, thinking to myself that he may have had a problem the week prior that he hoped he had fixed. "Well," he said, "this is the first I've had it out since I parked it after the last tournament in November." You can imagine the images I was conjuring up the rest of the way down the road. Thankfully, his rig started, and we didn't have any problems that day.
Unfortunately, many anglers go by the same schedule with their rigs each year. They'll use it all season and park it after the year's last tournament or fishing trip, then get it out in the spring and hope that everything works ok. Then if it doesn't, make a frantic trip to the marine repair shop to find out why their trusty rig is having problems.
By this time, fishing is over for all but the diehards. If you own a boat, giving up fishing for the year should be more than not going out anymore. Work on your rig will ensure it will get through the worst of winters and be ready in the spring. Even if you don't fish but own a boat, you should also heed these tips.
Whether you own a big shiny fiberglass rig or a small aluminum Jon boat, you need to prepare it for winter if you're planning on storing your boat outside. Getting a boat ready for winter is more than throwing a tarp over it. Several things must be done to get your rig through the winter properly.
There are a lot of myths and misconceptions around how much or how little attention needs to be paid to a rig before winter sets in. Let me set the record straight. No amount of time is too much time. Any time spent now will help your rig get through the winter, be ready for spring, and ensure it will run better, longer.
Whether it's doing the motor first or boat first, the sequence you follow is inconsequential; to each his own. The main objective here will be to cover all the bases. But this path will follow the process I've always believed.
First, pull the drain plug (and leave it out) and raise the front end of the boat so that it's higher than the back. This will allow any water that's in the boat to drain out. Additionally, it will allow any water that might enter during the winter to drain to the back and out the drain hole. If left to accumulate and freeze, it could cause severe damage such as cracking fiberglass or loosening rivets.
Next, take out all of your gear, not just some, all of it. This may be a long, tedious task, but there's a good reason. First and foremost, It will avoid getting anything wet that shouldn't, and second, keep any critters from making their winter home in any stored materials. This is also an excellent opportunity to review all the individual items loaded over the past season and eliminate things you don't need. Make a list of the items that should be replaced. Check fire extinguisher gauges, expiration dates on flares, life jackets for tears or worn areas, and look for frays in tow and anchor ropes. Use the winter months to replace these items as needed.
Take off all removable equipment such as trolling motors, fish finders, downriggers, etc., and store them inside. Besides, keeping these items from getting weathered will help the cover fit tighter without any of these items protruding to get in the way.
Take out the batteries. Check the water level and fill as needed. Wash them down with soapy water to clean them up and take off any acid on the outside. Dry them with a dry cloth, then dispose of the cloth. Use a wire brush to clean off the terminals. Do the same with the battery cable connectors. Take the batteries indoors. Put a full charge in them and leave them on trickle charge or disconnect the charger. There are different schools of thought as to which is best, so do what is most comfortable for you. If you disconnect the charger, check the batteries periodically and charge as needed.
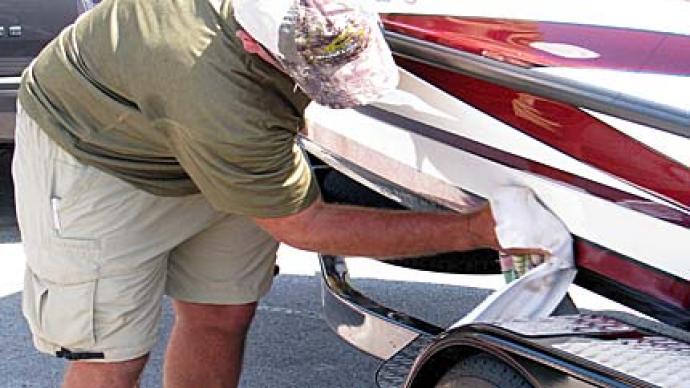
Next, vacuum out the inside of the boat, including all compartments. If you have carpet, use a stiff bristle brush to help restore the nap. If the boat finish allows, put a coat of good quality wax on the hull and inside panels. Apply a liberal coat of vinyl protector on the seats and any rubber and plastic parts. Spray all light sockets and electrical connectors with an electrical spray to prevent corrosion.
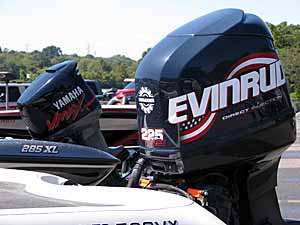
Winterizing a motor can be a little more detailed. There are several ways to do this. If you're uncomfortable doing this, you can take it to a knowledgeable repair service rather than doing it yourself. Before servicing your boat for winter storage, the last trip of the year should include the manufacturer's engine tuner to remove carbon.
First, fill the gas tank with gasoline (and oil mixture if you usually do), then add a stabilizing agent. Filling the tank will help eliminate moisture build-up inside the tank. Adding the stabilizing agent will extend the shelf life of the gasoline for use next spring.
Now lower the motor in the run (vertical) position and attach a motor muff attached to a garden hose. You can use a large water container, but you'll need to continue filling the container while the motor is running. The size of the container depends on the size of the motor. Don't run the motor without water. This will ruin your water pump in just a few minutes. Take off the top cover and start the motor. Make sure water is coming out the sight hole. Allow the motor to run for 10- 15 minutes to allow time for the fuel stabilized in the tank to get into the carburetors. After the motor has run for 10 - 15 min's, spray a steady stream of a fogging agent into the carburetor throat until the motor stalls. The fogging agent covers everything inside the motor with a thick coat of oil protecting it from moisture. Don't be tempted to put in new spark plugs at this time. It's best to put new plugs in before starting the motor in the spring. New plugs now will just get fouled right away from the fogging.
Next, spray the outside of the carburetor, linkage, and other parts with a rust-inhibiting lubricant. After you've finished, replace the cover.
Now drain and inspect the lower unit oil. If it's cloudy, it has water in it. Left alone, it could freeze and crack the lower unit. Also, check for metal filings, milky appearance, or black color with burnt odor. If old lube has any of those characteristics, see your dealer. If the oil appears ok, refill using quality lower unit oil.
Replace the water pump if it's two to three years old. Most water pumps are made of flexible rubber, and after a few years, they will get hard and set in the position of rotation and will start to lose pressure. If it does, it could fail early into the next season if it's not replaced.
Add grease to all grease fittings until it pushes out at the seams. This will allow the new grease to push out all the older grease and any water that may have accumulated. Water and contaminated grease could cause internal corrosion. If you have remote steering, extend the steering linkage fully. Apply a light coat of the same grease to the exposed steering linkage using a dab of grease on a clean, lint-free cloth.
You must disconnect the speedometer hose at the upper connection on motors that have the speedometer pickup in the gearcase. With air pressure, no more than 25psi (167 kPa) blow all water from the gearcase speedometer pickup system. Reconnect speedometer pickup after all water has been removed.
If you have power tilt and trim, tilt the motor up and engage the tilt support. Remove the filler cap and check the fluid level. If necessary, add enough power tilt/trim or power steering fluid to bring the fluid level even with the bottom of the fill cap hole when the unit is at full tilt.
Wipe down the whole motor with soap and water, and dry with a clean, dry cloth. Then apply a coat of wax using the same wax you used on the boat hull.
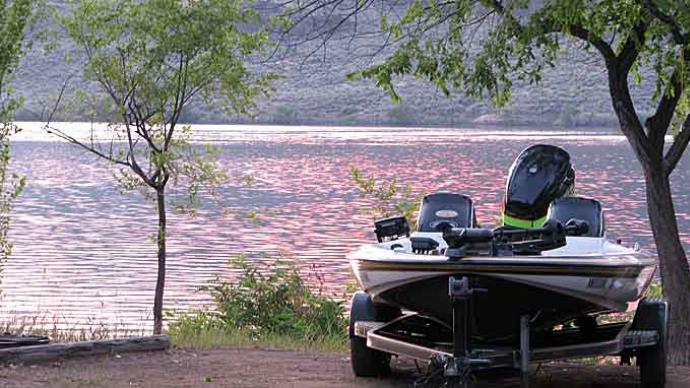
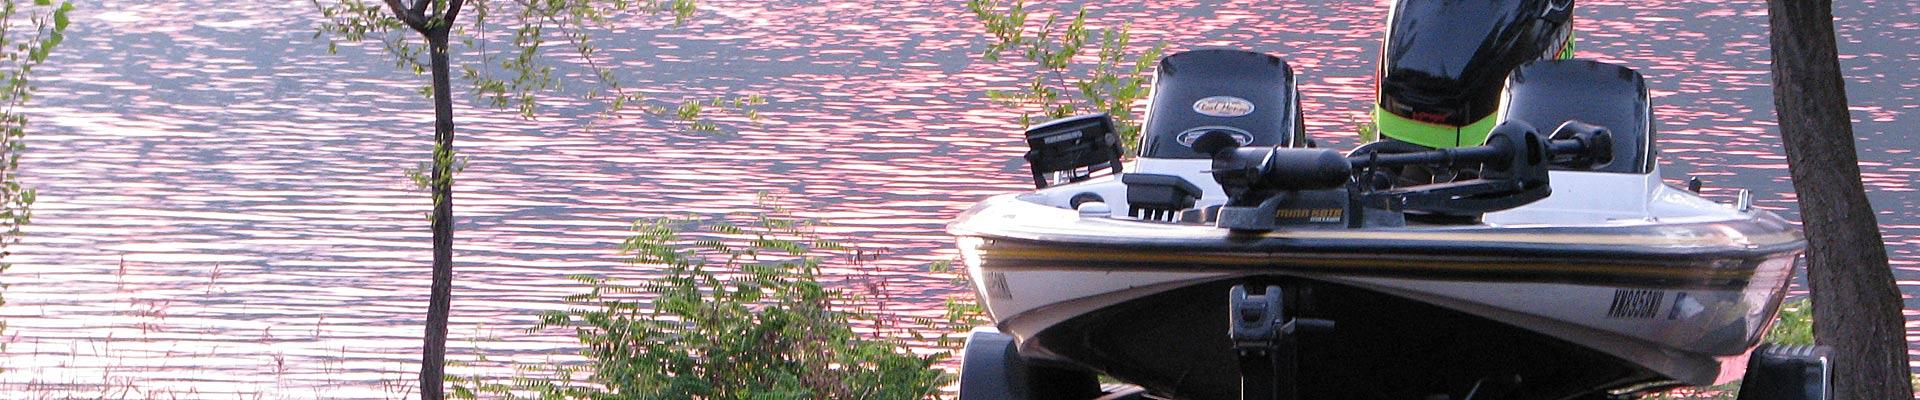
Now put on your boat cover. Make sure it fits snugly over the sides, and tighten it securely. Be careful not to get it too tight. It could tear under the weight of snow and ice. Check that it doesn't sag in the middle. If it does, use a bucket, sawhorse, or support to hold up the center. This will keep any snow and ice from accumulating. If you have a cloth cover, I recommend covering it with an additional plastic tarp for extra protection.
Now for the trailer. Jack up each wheel and check it front and back for signs of leaking grease. This may be a sign of rotten seals. If so, they will need to be replaced. Next, spin the tire lightly. This will allow you to determine if the wheel bearings are binding. If the tire spins erratically or not at all, they need to be replaced. Replacing wheel bearings and seals may take special tools, so I advise that you take them to a service center to have them replaced. Pull the wheel assembly and clean and re-pack the bearings if they seem ok. Replace the wheel assembly and fill the bearing protectors with grease.
Check the tires for proper air pressure. It's a good idea to block the trailer and pull the tires. Store them inside. This will eliminate flat spots from developing on the tires and protect them further from the weather. This is especially advisable if you plan on parking on grass or bare earth. The proper way to jack up the trailer is to raise it by the axle keeping the trailer springs in a load position.
Pull the covers off the taillights, and check for water. If there's moisture present, wipe it dry. Spray the bulb sockets with the same spray lubricant you used on the boat wiring or add a small amount of white grease. Clean the light cover inside with an all-purpose cleaner before replacing it.
All of this may seem like a lot of work. But taking care of your boat properly should be taken as seriously as your vehicle. These steps cover the basics plus a little more. As always, check your manuals and follow the manufacturers' recommendations. Following these steps may seem like a lot of work now, but you'll be glad you did in early spring when the first warm spell arrives. You'll be able to be the first one on the water and can concentrate on catching fish. After all, they call it fishing, but the goal is catching.