Ask almost anyone's grandpa if he ever heard of a cane pole for fishing. Odds are he has, and probably made one himself way back when.
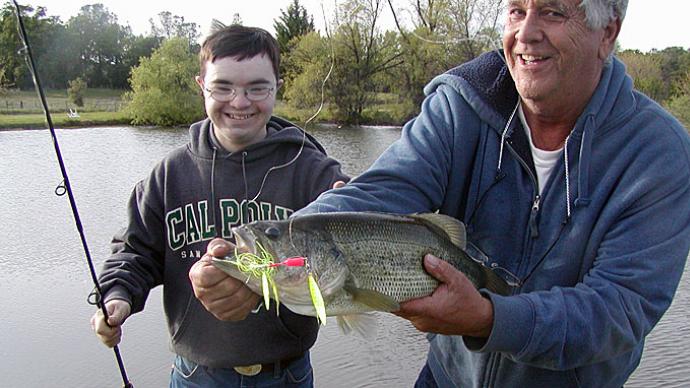
Cane poles are traditional fishing poles that can be made at home with a few supplies. Caution, don't be fooled by the simplicity of the cane pole, they are a fun and exciting way to catch fish without the complication (or benefit) of a reel! Additionally, building a cane pole is an interesting project (that needs some adult help) and it means the pole can be completely personalized. To demonstrate one of many, many ways to build a cane pole I will be building my 4-year-old nephew a pint-sized bamboo cane pole. Any fisherperson can build their cane pole to their precise specifications: lazy-river-bank long poles, short creek poles, kid poles, and much more.
A few materials are needed to build a cane pole. There are many resources online that explain techniques for knots, fancy knots, poles and even making a cane pole that can be taken apart at a joint for traveling. If you want to build a fancier pole than the one shown here, I encourage you to look up more detailed resources.
Materials needed to build a starter cane pole:
1. the cane for the pole's body
2. backing line (usually 20 lb. test or stronger, and flexible.) 10-25 feet
3. leader line
4. hook, sinker, and bobber of choice
5. heavy duty tape (if desired)
Pole
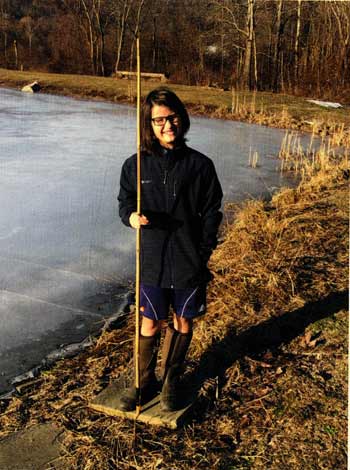
The first step is to harvest, buy, or repurpose the cane material for the body of the pole; in my case I am repurposing a traditional bamboo pole about 6 feet long. Typically, a New York harvested pole would be a small ash sapling. Local materials that might be harvested around the country for a cane pole including false bamboo (which needs to be hung vertically to dry), ash, tamarack, willow, or any other local, sturdy, often flexible straight materials. The important criteria are that the pole is straight and relatively sturdy at a small diameter and preferably lightweight. Harvesting a pole will require an axe, saw, or machete and most likely transportation to a grove of suitable small, straight saplings, and therefore also requires adult assistance. Since this is a labor-intensive part of the project, consider harvesting several poles at once as back-ups and for future projects if making cane poles becomes a hobby. Once the poles are cut to the desired length, any stems, branches or leaves will need to be taken carefully off. Remember that damaging the edges of the pole during this process will potentially weaken the pole when it is dry. Additionally, remember to store the poles by hanging them vertically or lying them in in single layer on a flat surface so that they don't warp!
Line and Leader
I am using the backing for ice-fishing tip ups for my line, any heavy-duty line will be fine. The backing line is more flexible than monofilament, and easier to tie around the pole. Over time, you may decide on a preferred material. For a leader I am using monofilament, again, the choice is yours.
Hook, Sinker and Bobber
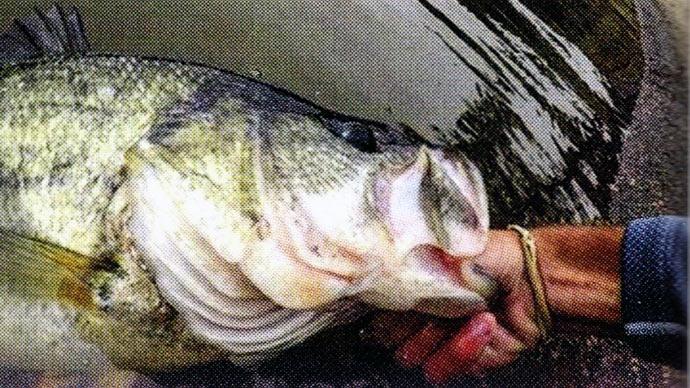
I am using a number 4 circle hook with no sinker and small bobber for pond-side panfish fishing. The choices are endless!
Tape
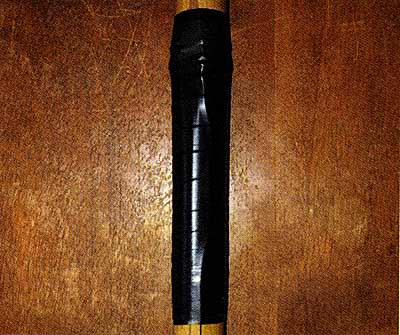
The knots and line wrapped around the pole can be taped. That secures knots and covers splinters on the pole. Alternatively, the pole can be carefully sanded, and the pole-maker can research and practice knots that do not need tape support. Make the choice that interests you the most!
Making the cane pole
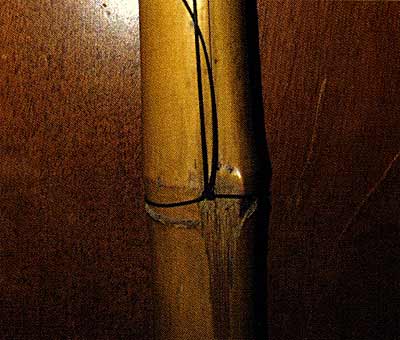
I used a 6-foot length of bamboo repurposed from another project and about 15 feet of ice fishing line. As a rule, start with line that is a little more than double the length of the pole. It is important to tie the line off to the base of the pole and several times as the line moves towards the tip in case the pole breaks. This way you at least have a hand line! I used a slipknot nestled into a bamboo knuckle to tie one end of the line to the base of the pole and taped it for security. Moving upward to 1/3 and 2/3 the length of the pole, I used a double half-hitch knot to attach the line to the pole again, placing the half- hitches into the bamboo knuckles. Since the knots were securely settled in the knuckles, I did not tape them. At the tip of the pole, I half-hitched the line again and realized I had extra line left so I twisted the line around the pole to take it up and added another half- hitch closer to the tip of the pole. This way my nephew has extra line if he ever wants it! I attached a two-foot leader of monofilament to the ice-fishing line with a circle hook and a bobber, but this can easily be changed to suit the fishing purposes of the day! The beauty of a cane pole is that it can be built any way that suits you, using materials you have on hand and want to use. Cane poles can be simple like mine, or dressed up and fancy.
Materials can be whatever is on hand or purposefully harvested with a specific pole design in mind.
Christine Cornwell is a horse trainer who lives in upstate New York with her husband and son. She has worked for the New York State Department of Environmental Conservation and was a high school science teacher. Sharing her love of a healthy, natural world is a daily passion.
Reprinted with permission from Pond Boss Magazine