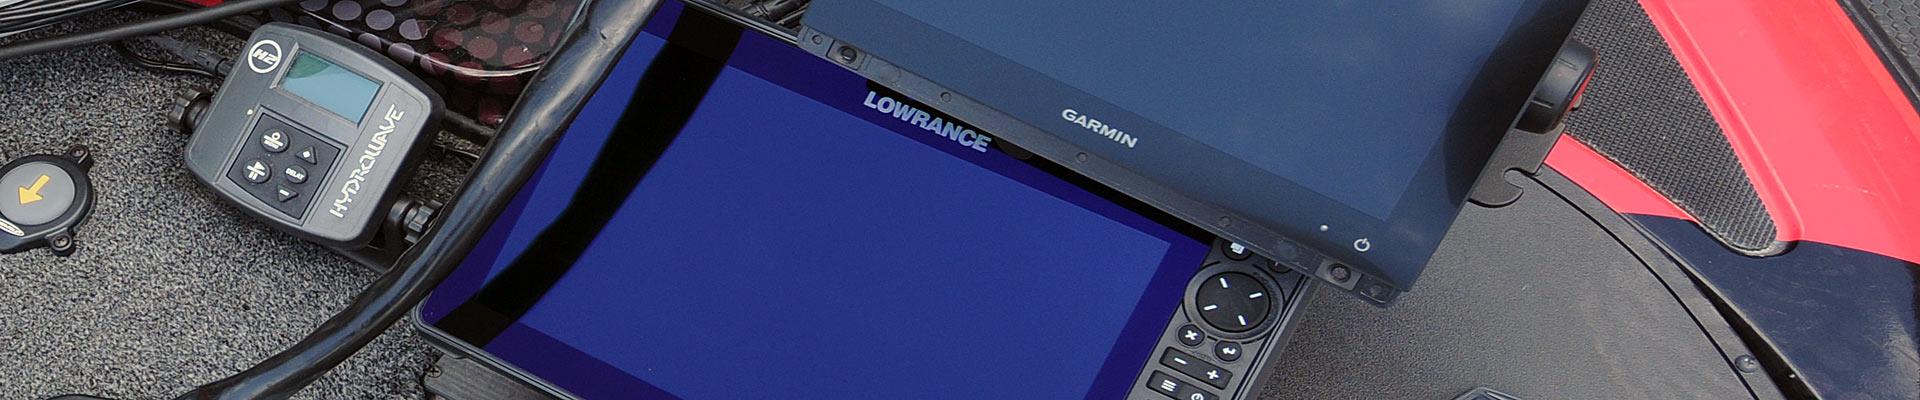
It's happened to most of us. We purchase the latest and greatest sonar units, then struggle to install them in place of the older units for a day or two. Eventually, we visit our local boat dealer and pay to have the units installed. But it doesn't need to be that complicated.
Here, we illustrate the basic steps for installing new graphs in both the console and bow. A word of caution: If you feel uncomfortable with the work or encounter a problem you can't overcome, drop the project and take your boat to a qualified dealer. But for those adept at do-it-yourself projects, the process is relatively easy. Note: We've described only how to switch out your transducers and units. You may need to rewire battery circuits or purchase new power adapters—readily available from the manufacturers.
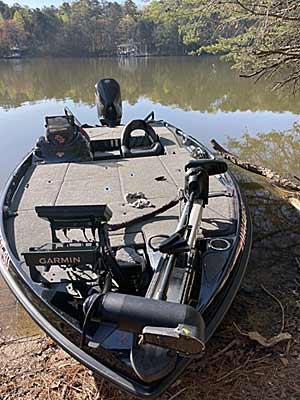
The first step is to decide where you want the new graphs. The most common arrangement is to place one on the bow dash, with a transducer attached to the trolling motor. The other graph is usually located adjacent to the steering console. Several manufacturers make mounts for those who want to run multiple units at the bow or console. They are sturdy, solid, and made for all major boat brands.
Locate And Remove Existing Stern Transducer
| Tip |
| If access to the mounting area is difficult, place a circle of cardboard over the mounting area. Apply epoxy inside the cardboard, then mount the transducer in the epoxy as described. After epoxy sets, cardboard can be cut out with a utility knife. Just be sure the transducer is secure, and epoxy is set. |
Note: This step may not be necessary if upgrading to a new unit from the same brand. Many use the same connections, and the transducer may be compatible with the newer electronics you are upgrading.
Tip
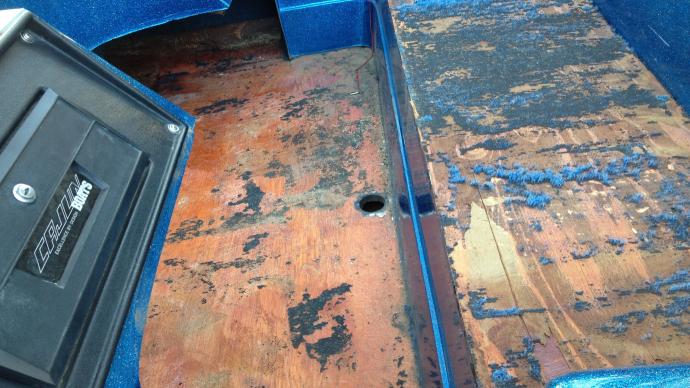
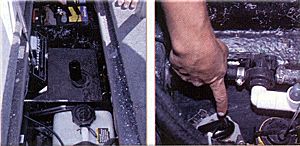
If access to the mounting area is difficult, place a circle of cardboard over the mounting area. Apply epoxy inside the cardboard, then mount the transducer in the epoxy as described. After epoxy sets, cardboard can be cut out with a utility knife. Just be sure the transducer is secure, and epoxy is set. In today's bass boats, most stern-mounted transducers are attached inside the hull-usually, beneath the rear hatch. First, empty the bilge, disconnect all batteries, then locate the rear transducer. You may need to remove a cover plate actually to reach the hull. Dry the area thoroughly.
Your transducer is most likely glued directly to the hull with epoxy. A few gentle taps with a small hammer can dislodge it in most cases. If not, don't risk damaging the hull. Instead, cut the wires and leave the original transducer in place.
Select a clean, level spot to install the new transducer within this same area. Prep the mounting area by roughing with fine sandpaper or a Scotch-Brite pad. Set the transducer in the selected area to ensure it fits, then trace an outline on the hull for reference. Now, you're ready to glue the transducer to the hull.
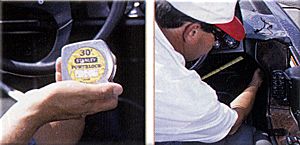
Epoxy creates a stable, efficient seal, and the transducer reads right through it and the hull, provided there are no air pockets in the epoxy. First, mix your epoxy according to package instructions. Next, create a small pool of epoxy, extending slightly beyond your outline tracing. Place the transducer in the epoxy and rock back and forth to remove all the air pockets.
Ensure the transducer is level and in the proper position, then apply steady pressure until the epoxy sets.
Run New Cable
After the stern transducer is mounted, you'll need to run the new wires up to the console. Your wires most likely snake back somewhere beneath the gunwale. Locate your existing transducer cable's entry and exit points, then remove wire-mounting hardware from the console if necessary. The challenge is to run the new wire along this same path. Use either an electrician's fish or carpenter's tape to run the wire path back to the transducer. Tape the new wires to your fish, then pull them back through. Note: You may need to remove the previous transducer cable to ease the route back to the stern.
Install Your New Mounts
| Tip |
| Check your battery setup. Today, most manufacturers recommend a dedicated circuit for electronics and even include a simple power panel with positive/negative hookups. Keeping electronics on their own, a dedicated circuit minimizes interference. |
Tip
Check your battery setup. Today, most manufacturers recommend a dedicated circuit for electronics and even include a simple power panel with positive/negative hookups. Keeping electronics on their own, a dedicated circuit minimizes interference.
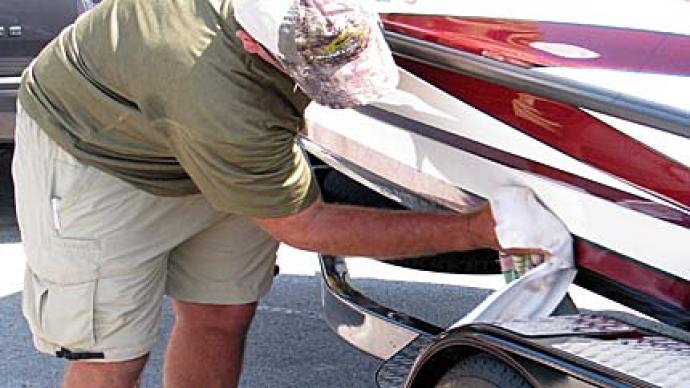
Unless your new unit is compatible, you'll most likely need to remove your old mount as actual units of the same size and from the same brand may be different. After removal, set the new screen mount on the dash and mark placements of mounting screws. Ensure new mounting holes are sufficient distance from the old ones, or cracking can occur.
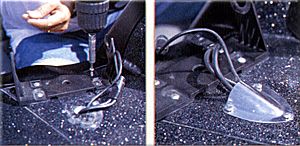
Set the screen mount aside, then drill pilot holes for mounting screws. Try drilling the largest pilot holes possible, ensuring screws will still bite. Also, lightly round out the top of each pilot hole with a Phillips-head screwdriver—screw tapping can flake gel coat.
Place the screen mount over pilot holes and affix it with screws provided by the manufacturer. If no screws were provided, be sure to use stainless steel hardware, and take care not to overtighten—hulls and gel coats can be damaged from excessive torque. Also, replace the wire-exit cap if used previously.
Install Bow-Mounted Transducer And Graph
Next comes the crucial bow-mount graph. The goal is to affix the transducer to the base of the trolling motor.
Many trolling motors have a universal sonar with the transducer built right into the trolling motor, making for a seamless installation. You can plug a new graph cable right into your trolling motor if you have Universal Sonar capability. However, most common is the practice of running your transducer cable along your trolling motor shaft.
First, remove the front bow panel that covers the wiring. Next, remove the existing transducer and wires from the trolling motor. Using a stainless steel transducer hose clamp, affix the transducer to the base of the trolling motor. Ensure the transducer's bottom is level with the bottom of the trolling motor. Tighten clamp.
Run Your Wire
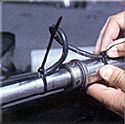
Use plastic cinch ties to run the transducer cable up the motor shaft. At the shaft's midpoint, leave a loop's worth of cable, allowing the motor freedom to rotate.
Use plastic cinch ties to clamp the transducer cable to the trolling motor shaft. Place ties 6 to 8 inches apart. Pull clips tight; cut ends flush—sharp, left-over plastic can slice fishing line like a knife. When you reach the collar, or midpoint, of the motor shaft, leave a loop's worth of cable. This allows the shaft to turn without damaging the cable. There are also aftermarket products made of neoprene that cover the transducer cable and all of the wires, protecting them and giving them a cleaner look.
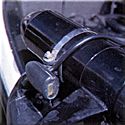
When you reach the top of the motor, it's time for a decision. You can either: 1) Continue running the wire down the foot-pedal cable, or 2) Branch off the motor and run the wire along with the motor bracket. We chose the second method. Some brackets allow access to the area beneath, in which case you can hide the cable. Otherwise, use small metal braces and screws to run the wire outside the bracket. Very important: Be sure to leave enough slack in the transducer cable, a loop's worth or two, to allow for raising and lowering the motor.
Neatness Counts
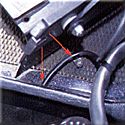
After running the wire along with the motor bracket, create an entry hole in the bow panel. Secure wire to deck with a clamp to avoid wire wear. Also, create an exit hole close to the new mount.
Run the length of the bracket, then run the wire underneath the bow panel. You may need to cut a small hole to accommodate the wire. Also, to prevent wire wear, secure the wire to the bow with a small bracket. Lastly, create an exit hole near the new mount for the power and transducer cable. Tuck slack beneath and reattach the bow panel.
The last step is to attach your new screen bracket, just as you did on the bow. That's it! Reattach your batteries, plug in your graphs, and you're ready to fish.