In the last article we explored maps, elevations and dug into the best soils for collecting water on the surface. Let's go deeper in your lake project, and talk dirt.
Every piece of property will sell some day. If you think about that fact, it can be a humbling, even troubling thought. But it's the perspective you need when rearranging soils to build your dream lake. Not only are you creating a brand new habitat to enjoy, you are building a structure to withstand the tests of time, one which alters the wildlife and fisheries for generations. You have an important responsibility.
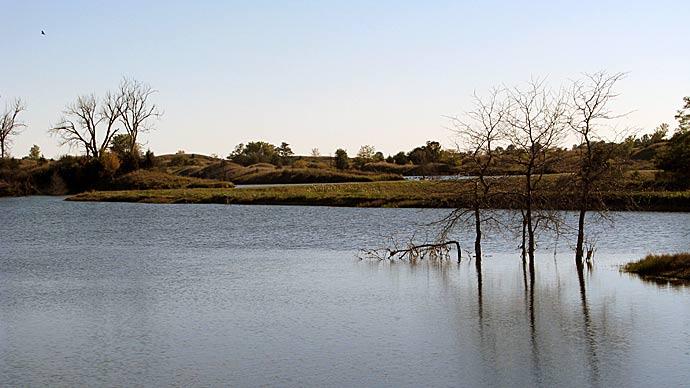
To build the best possible lake or make the very best renovation, you need to visualize how it will look upon completion. To help picture your lake, figure out where the water line will be along the shoreline and mark it with flags (little wires with colored plastic squares at the top). Place the small banners in the soil at shoreline elevations, 50-100 feet apart. When you are looking across at what will be your lake, try to visualize that you will eventually have a flat plane of water, with your little flags at the edge, all around your lake.
Water line tells you limitations of lake size. Elevations dictate water line. Walk the area below the flags, to learn about the inside of your new lake. Check water depths and make a rough map. Facts now about depth make later decisions easier. You'll be surprised how reality is different from topos. Now is the time to learn. Trying to find out about the bottom of your lake after it's already full costs extra money and time.
Investigate the dam site. Determine, as accurately as you can, how much dirt will go into the dam. The best dam builders make an effort to get all the needed clay dirt from below the water line. And, most dam builders do their best to move that same dirt the shortest distance possible. Keep that fact firmly in your brain. We'll use it throughout your project.
Now is a good time to talk about dirt. Find clay. Clays hold water. Sand is nice at the beach, but absolutely no good for a dam.
Fact of life: Water passes through all dirt. If it didn't, we would have permanent puddles here and there. Find soil that lets the least amount of water through. Fine, small particle clay works best. Large sand particles and gravel is no good for holding water, or building a dam. Not only does sand, rock and gravel leak, those soil-types will not compact.
Test your soil. Dig several holes into the dam site and several in the reservoir area. They will provide crucial soils information. If your project will cover 10 surface acres or more, consider sending soil samples to an engineering lab. Ask the lab to test for compaction qualities. You can do some of your own engineering, too. How long will those test holes hold water? Dig through the topsoil, past organic matter, into subsoils, hopefully clay. Do it with a shovel, if possible. But be prepared to pay a backhoe operator, or someone with a boring machine, to reach a depth of four or five feet. If you dig and don't know what soils there are, fill the hole with water. Then, go eat lunch.
When you come back, and hole is empty, those soils are porous. If water still stands, you may have good soils for a dam.
I have worked with people who think clay is a color. Gray or yellowish-tan. It's not. It's particle size and texture.
Moisten a handful of soil, and squeeze it together. If it sticks together, it may be good material. If it sticks together like modeling clay, you may have found the perfect material. If you squeeze and it falls apart, find other soils.
Recently, I had a client point to an outcropping of red sand, and ask if that "clay" would be good material. He thought, because of the deep red color, this porous sandy dirt was good for a dam. It ain't even good for a beach, unless you want to dye your underwear red.
In your pond site, expect to see variations of soil-type and quality. A site with uniform soils throughout is the exception. In 30 years of working pond sites, I have seen one of these.
Expect soils to be different at different depths. The bottom of a creek may be sand and gravel, but two feet further down may be clay. Depths of topsoil will vary, also. The top of a hill has less topsoil than the creek bottom below. That's nature. One of the best indicators of your soil is to look at nearby ponds. Do they hold water? Or leak? Even though soils are inconsistent, nearby ponds can sure encourage you to dig deeper into investigating a good-looking lake site.
Of all soils I work with, special attention should be paid to rocky ground. Rocks are difficult to work with, to build with, and may have fractures underneath soil that could cause your lake to leak.
There's a new lake site that covers about 5 acres in the plains of northern Texas, just west of Sherman, in my stomping grounds along the Red River. This pond is built squarely in the middle of two nice hills, just on the western edge of blackland soils. Black land is excellent for building dams. As a matter of fact, black dirt can be too good. After a little rain, walk across blackland prairie dirt, and by the time you have taken ten steps you have grown 5 inches, straight up. The sticky stuff that natives call "gumbo" really sticks to your boots. But, when dry, the soil cracks. Blackland soil, mixed with porous soils, is excellent material for ponds.
But under this particular lake site, black dirt goes about eight feet deep, then a rolling ridge of broken shale rock divides subsoils. The contractor, rightly so, was concerned this lake would leak. So, he made a radically different recommendation to the landowner.
Rather than building a core trench for the dam, the earthmover suggested a core trench all the way around the lake. His reason? Building a core trench deep into the sides of both hills would be considerably more costly. The layer of shale was only eight feet deep at the lake site, but was as deep as 20 feet into the hillside. The contractor was afraid water would go around the ends of the dam. But, a core trench around the lake would effectively stop water movement underground. A non-conventional idea for a non-conventional problem. It cost an extra $20,000, but this lake does not and will not leak.
What's a core trench? It's merely the most important part of the project for long-term success. Normally, a trench in the center of the dam excavated through all soils is called the core trench. Its job is to create a barrier through all layers of soil, into solid soils, to prevent water from running under the dam, and draining your lake. The trench is backfilled with fine particle clay, and tightly compacted. A core trench slows water trying to pass under or through the dam.
A good core trench will eliminate the need to put your lake on anyone's prayer list.
Beware, though, a core trench can often cost as much to build as the rest of the dam. It can be a small piece of dirtwork in a short piece of a creek, or it could be a deep trench from one end to the other, as wide as 25 feet, and as deep as 20 feet, depending on soils and size of the project.
I remember one project in particular, where the landowner ended up spending $22,500 to build his core trench, plus $12,500 on the dam above the ground. But, his neighbor's leaky ponds don't even compare to his water-tight lake.
Fact is, leaky ponds upstream feed a constant supply of water to this client's lake. And like he said, "it's only money." Right.
The core should be a minimum width of the equipment that will be used to pack good material back into the trench. A backhoe may not cut it. Houdini couldn't pack dirt with a backhoe bucket. Big projects pack the core trench with vibrating sheepsfoot rollers. Smaller projects use rubber tire, heavy scrapers.
Building a core trench, also called a "keyway," may be tricky, especially if the site has running water, like a spring. Water in a core trench can cause problems, but can be worked around during construction.
We work in sections. The trench doesn't have to be opened from one end to the other the whole time. It can be dug in parts. This keeps it easy to pump water out and to do a good job backfilling and compacting. A word of caution - make sure sections are tied together, just track where each section stops and starts.
Also, take special care for the whole base of the dam. Remove all grass and organic material. You have to build a clean, clear foundation for the rest of the dam.
Keep in mind a lake under construction looks like a bomb has hit. When you are planning, then construction starts, be ready for drastic changes..some changes hard to follow.
What about planning the lake bottom? After all, your goals are to create the best fishing lake you can.
Is your ground flat? Are you damming a deep creek? Bottom structure and fish cover need to be forefront in your mind during design phases.
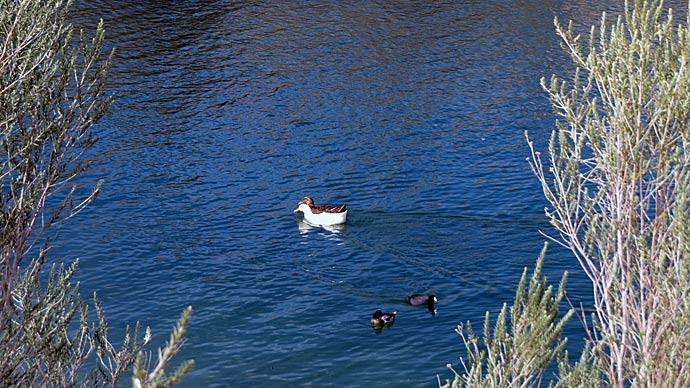
Fisheries biologists are quick to point out fish use cover in shallow water, not the deepest parts of the lake. Those fish guys have explained that water stratifies during warmer months, and deep water quickly runs out of oxygen. So, even if fish wanted to hang out in 25 foot water in your private lake, they can't. Without oxygen in deep water, the fish can't breathe. So, as you design structure, keep in mind your fish attraction should take place in the top ten feet of the lake.
Plan to diversify structure, best you can. What kind of trees are left and how big are they? Is there a defined creek channel? Are there rocks, or piles of dirt? How deep is the water at the deepest part of the creek channel? Since saving structure in deep water is not helpful, think fish when you are looking at areas that will be under water. If the best trees for cover sit in the deepest water, work with the contractor to plan to drag them nearer shore.
Most of the time, we are looking for things to leave untouched underwater. Look for and try to leave old fence lines, rock piles, creek channels and any natural changes in ground level. Start near the dam and work toward the shallow end. The less work you have to do for fish cover, the less money you spend rearranging nature's offerings.
As you focus on the lake bottom, keep in mind no more than 20 percent of your lake should have cover. A 10-acre lake needs two acres of cover, no more. Too much cover will affect population dynamics of fish. And, remember this, you need dense cover for baitfish, and "fluffy" cover for bass. Biologists tell me bass like areas near points, shallow water, quick access to deep water, with a defining structure nearby, like a tree trunk, a sharp drop, or big rock.
As the lake takes shape in your mind, move your eyes back to the shoreline. In steep areas, like a canyon, raising the water line may not make much difference in lake size. In flatter areas, raising the water line two feet may move the shoreline by fifty feet. Conversely, dropping the water line may be a good decision. One client decided to drop his water line vertically six inches, because he had two areas where water would cover a large area only four inches deep, plus he would lose an ancient oak tree. Good decision. Those wide, flat areas are now a pleasant picnic ground. He actually added six inches of soils to the flat, to raise it out of his flood plain, and to make a different shallow area deeper, for fish.
Shoreline on flat ground can be altered, but steeper ground is harder to change. More crucial decisions are coming. Get to three feet deep as soon as possible. Shallow areas are perfect for vegetation, may be pleasing to the eye, and fill up with baitfish, but over the long term, they are a management nightmare. Avoid shallow water, unless you are building a lake to attract waterfowl.
Deeper water is easier to access for fishing, and doesn't look nearly as bad when water levels inevitably fall. Better for recreation, building docks, boat ramps, swimming and managing runaway aquatic plants.
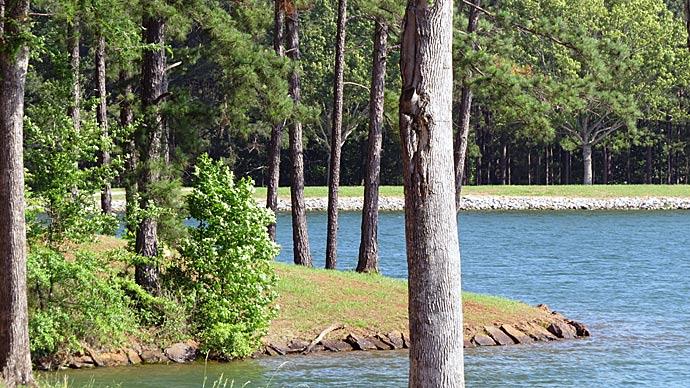
Study grass and trees above the water line. The better, and less disturbed, the vegetation above the water line, the less sediment will wash into a lake. Make sure all of the land in your runoff area is covered with some type of vegetation, to filter silt as the lake fills. Your lake will last longer, and stay deeper longer. The area immediately above water line is especially important not to disturb. This provides an extra buffer before water runs into the lake. Leave these areas alone, unless you need the dirt for your dam. Trees around the shoreline may help slowing down the effects of wind and wave action. Shoreline vegetation forms a buffer to help keep water clear and clean.
As you plan for areas above the waterline, keep in mind the best scenario is a gentle slope to the water's edge, where vegetation can be maintained. Plan what you want to look at along your lake. Easy access for fishing or party areas. Don't clear trees above the water line, until you are positive that's what you want to do. I've never seen anyone uncut a tree.
Start thinking about other amenities.
Planning for a dock and boat ramp should be done now, too. Want a hiking trail around your lake? Think about those things. Your mind may change later, but plan now.
Next time, we'll tackle the equipment used to build a lake, what to look for in a contractor, and special problems I have encountered over a long career of moving dirt. Stand by for tales of success, of bad luck, blind luck and faith.
The author is a 35-year veteran of pond construction, from dairy lagoons in Ohio to golf course water hazards in Florida to recreational fishing ponds in Oklahoma. He may be reached at Otto's Pond Service 1-800-882-DIRT
Reprinted with permission from Pond Boss Magazine