So, you want to make a crankbait? Well, just sit back as we walk through the steps, from selecting wood to shaping the body. These first baits will require minimum tools; for this tutorial, we will use hand tools only.
We are going to make this crankbait:
- 2 1/2" long
- Medium-depth diver
- Has a commercial lip
- Stainless steel screw eyes
- 1/8-ounce egg sinker
Just a single disclaimer here: Bait-making can be very addictive, so proceed at your own risk.

Tools: drill, 5/16" drill bit, 1/16" drill bit, coping saw, knife, and sandpaper.
Wood selection: Balsa, basswood, and cedar are the most commonly used by bait makers, but for your first few baits, use what you have or is readily available. Any scrap lumber will work for starters. Pine, fir, or poplar will all work well and are relatively easy to carve.
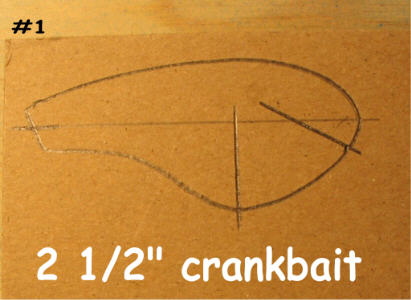
Make a pattern. You can trace a manufactured bait or draw your design on a piece of cardboard or plastic (magic markers work well here). A piece of plastic from an oil can, or milk carton will work fine and be a little more durable. Once your pattern is drawn, cut it out with an Exacto knife or scissors.
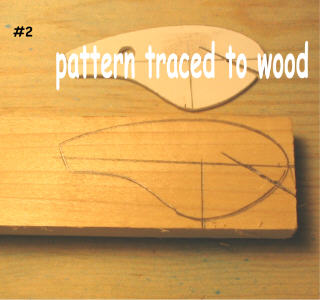
Lay the pattern on the wood, trace it, and then mark the lip slot and hook hanger locations.
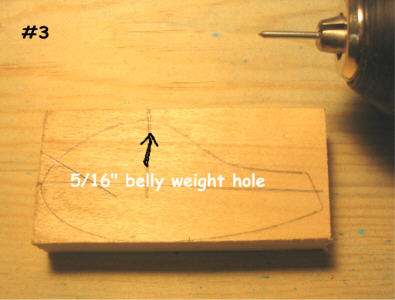
Drill the holes for the rear hook hanger and the belly weight/hook hanger. You can use a small nail with the head cut off to drill for the hook hangers. They will drill straight without following the grain.
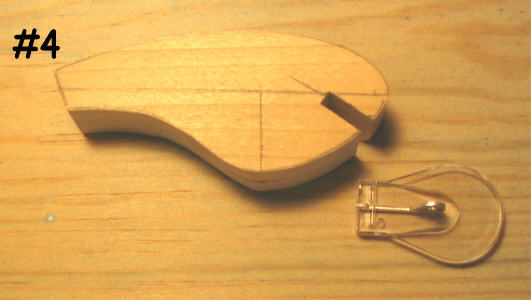
Cut out the bait profile and the lip slot with a coping saw.
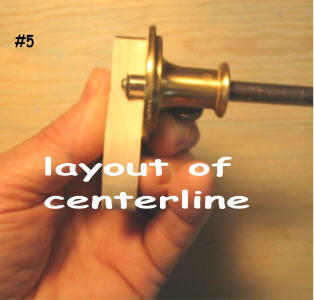
With a marking gauge or compass, mark the centerline around the bait. Make this line as true and straight as possible. Believe me. It will pay off later.
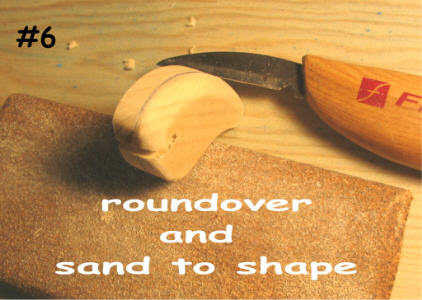
Start rounding over the sides using your knife. Work slowly around the bait, often checking to maintain your angles. Once satisfied with the round-over, finish shaping with sandpaper to the final contour. If you are new to carving, now would be an excellent time to stock up on Band-Aids.
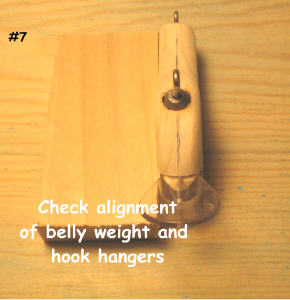
Check the alignment of the lip and hook hangers before final assembly. The straighter this alignment, the better this bait will run.
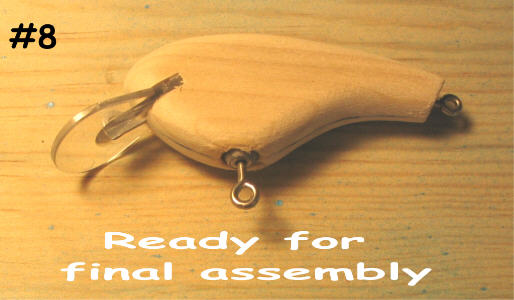
Your bait is now ready for assembly. In the next tutorial, we will complete the parts assembly and prepare for the finish. Continue to Part II


