In this tutorial, we will continue making a 2 1\2-inch crankbait. The cutting and shaping have all been done, and after sanding to a smooth surface, we are ready to assemble the bait and prepare it for the finish. If you remember tutorial #1 when the layout or centerline was laid out and how important it was to make sure that it was correct, now will come the payoff for your accuracy to this point.
Tools and Materials needed for this step.
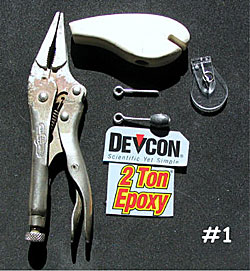
Epoxy: I prefer Devcon 2ton for assembly. Devcon is strong, waterproof, and easy to use, but there are a lot of epoxies that will work.
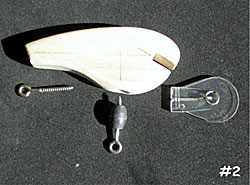
Screw eyes: I prefer stainless steel for a crankbait this size. The rear hook hanger and the belly screw are 1 inch long and .062 in diameter.
Lip: The lip used here is pre-made. Jann's Netcraft, Stamina, and Barlow's all have crankbait lips of various types and sizes. Other companies have lips, but these are the three I deal with most often.
Belly weight: This is a 1\8 ounce egg sinker.
Vise grips, surgical hemostats, or locking pliers will help you hold the bait while the epoxy cures.
Assembly:
Get all your parts and tools laid out along with the crankbait body. You want to avoid hunting parts once your epoxy is mixed.
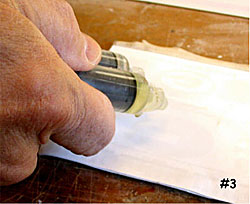
Measure and mix the epoxy. I usually squeeze out about a half teaspoon for this bait. Stir the epoxy until thoroughly mixed. You can mix this on a piece of paper or aluminum foil.
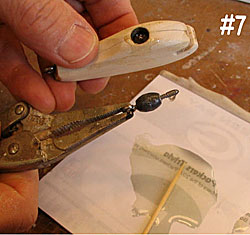
Using a toothpick, force some epoxies into the rear hook hanger hole. Now holding the screw eye in the pliers, dip the epoxy end and screw it into the pre-drilled hole. Make sure the screw is lined up with the centerline; once the epoxy sets, you will not be able to move it.
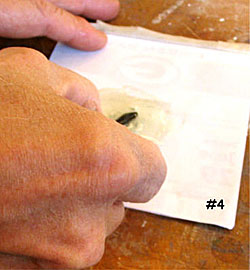
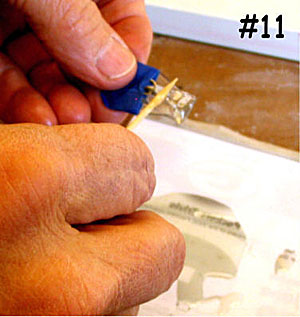
Again using a toothpick, put some of the epoxy mix into the belly weight hole, be generous with the epoxy here, and spread it around inside the hole.
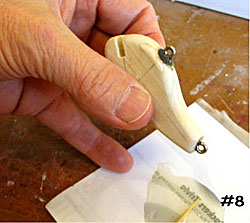
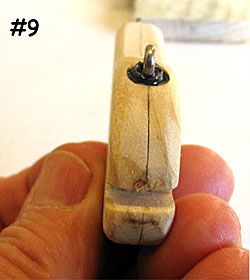
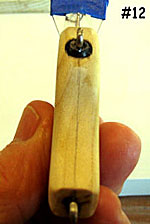
Dip the screw eye into the epoxy and screw it into the belly weight. Next, take the belly weight with a screw and coat it lightly with epoxy, then insert it into the belly weight hole and turn the screw and weight in until the weight is even with the bottom of the bait. Any excess epoxy forced out around the weight can be removed with a paper towel.
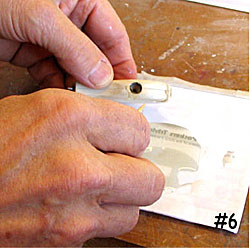
Now recheck the alignment of both screw eyes, making sure they are still straight with the center line.
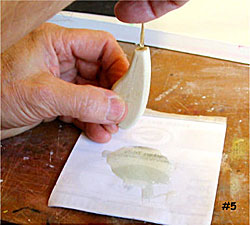
At this assembly point, I like to seal the bait and paint before installing the lip. There are a couple of opinions on this. One says to assemble the entire bait, then mask and seal, and the other is to seal and paint the bait and then install the lip. Both work fine; it is just a matter of personal choice. Since I have been pretty bossy to this point, I'll let you make the call, but for this tutorial, we will install the lip now, then mask and seal.

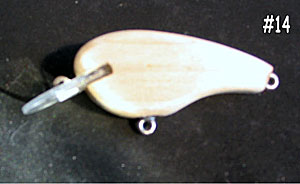
Take a small amount of epoxy and place some in the lip slot using the toothpick. Now take a small amount of epoxy and put it on the end of the lip, then insert it into the slot. Carefully align the lip with the centerline of the body. You can use a paper towel to wipe off any excess epoxy.
Now that the bait is glued together, the next step is to seal the wood. Sealing can be done with a water-based polyurethane varnish, shellac, thinned epoxy, or sanding sealer. I recommend that if you use water-based paint, you use a water-based sealer and a solvent-based paint for the solvent-based sealers.
At this point, it would be an excellent time to test the crankbait to see that it runs properly and make any adjustments to make it run straight and true. So now you're ready to paint and finish.