The craze started in the waters of California and slowly started making its way to the East Coast. The anglers of the southern United States began to laugh at the small lures, small lines, and small hooks commonly used with this technique... that is, until it started catching more and more fish, some of which were pushing into trophy status.
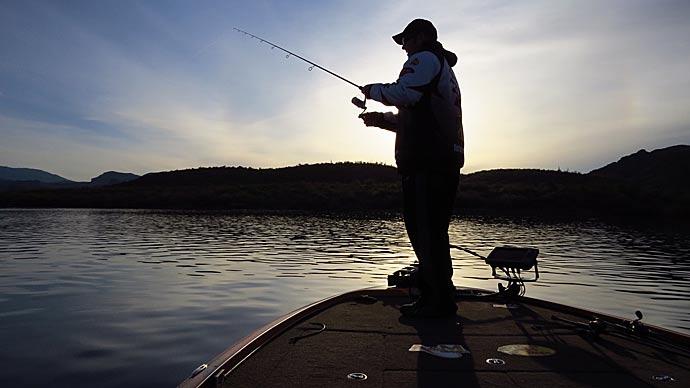
Which technique could this be? It's the technique that has become known as drop-shotting. It is highly effective when fishing gin-clear waters or waters with extreme fishing pressures.
There are many ways of creating a drop-shot rig, but I have found that using the inexpensive split-shots as weights, generally found on bluegill and crappie setups, this technique becomes more affordable and easier to rig and learn. I also like to use small hooks, such as size 2 Gamakatsu offset hooks. These light-wire hooks still have enough backbone to hold up against the biggest bass, but with constant pressure, they can be straightened out so that break-offs come down to a minimum.
The trick in rigging a drop-shot is to make sure that you have enough of a tag end to run back through the hook to have adequate distance between the placement of the hook and the placement of the weight. I suggest having close to a 10-inch clearance between the hook and weight. Under most conditions, I will tie the hook using a Palomar knot. Double your line and run it through the eye of the hook. Then, tie an overhand knot. You should now have a loop as the tag end, which you now run back over the hook. Now, cinch the knot down, lubricating it (with saliva or water). Now, all that you should have left is the 10-inch tag end, which you will now run through the eye of the hook. Once this is done, flip the knot to sit on the top of the hook eye. You want the hook to sit perpendicular to the line.
Once you are finished with the hook, you can place the split shot on the line. Typically, I leave a good 3 inches from the bottom of the tag end of the line and where I set the weight. I have found that this does two things. First off, you are less apt to hang up in gnarly cover, and secondly, it makes the weight a rattle, mainly when fished against rocks.
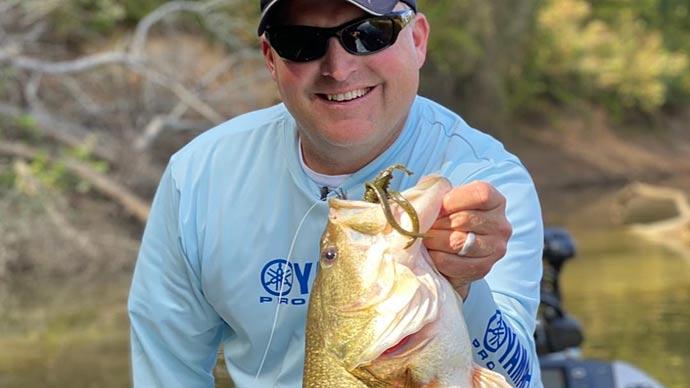
Now that your drop-shot rig is complete, it is time to decide which lure you will use. Remember, this technique is tailored to smaller lures, ranging from 3- to 5-inches. However, don't be afraid to experiment with larger lures. This technique is new to the eastern states, and sometimes, the fish you are targeting have never seen it. A larger lure could produce larger bass for you.
Several lures can be used on this rig, such as jigs, worms, lizards, tubes. I suggest that you use a 6-inch finesse worm from Zoom. My favorite color is icicle. It mimics the natural color of some shiners and other baitfish, and it also mimics colors found in some bluegills due to light hitting the lure and refracting the light. Experiment with the colors that you use, and don't be afraid to switch colors drastically, to prevent the bass from becoming lure shy.
Choosing a rod and reel combination is very important. I suggest getting a spinning outfit with a light-action rod for shaking the lure and a reel with a high-speed gear ratio so that if a bass is in gnarly cover, you will be able to get him out quickly. A 7-foot rod is an excellent choice. I use a Quantum rod coupled with a Mitchell reel. When choosing a reel, get one that has at least four ball bearings, as this will ensure maximum smoothness.
Drop-shotting is a technique that's easy to learn. But as it's used by more anglers, making subtle changes in the technique will consistently put fish in the boat for you.
I hope this gives you the information that you will need to learn the drop-shot technique with confidence and begin using it to fill the livewell with limit after limit of fish.
As always, tight lines and be safe!