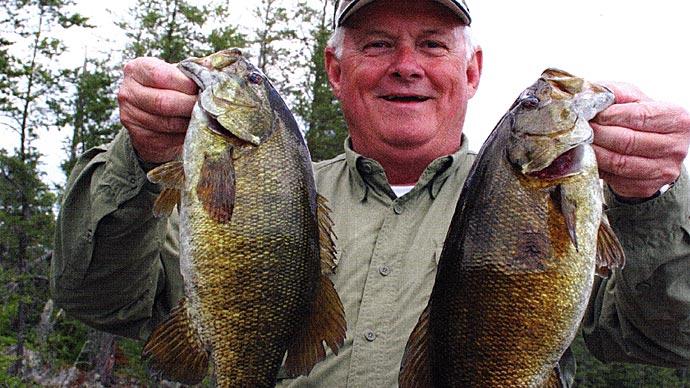
The holidays offer time for reflection, including reminiscing about days gone by with loved ones. If you’re a bass angler, those thoughts eventually turn to the big bass you caught — or lost — during the past season and preparing for the coming year’s fishing adventures.
You’ll spend time surfing the internet, seeking out new fishing holes and new approaches that will help you unlock the bass-fishing puzzle. But between daydreaming about your next day on the water, make time for your fishing gear. It deserves more than being left in a corner or in your boat.
Finding time for tackle maintenance is easy if winter snow and ice shuts down your bass fishing. But even if you live in a warmer climate, where you can fish year-round, you’ll benefit from taking the time to get your gear right at the end of the year. Giving it a little love now will pay off with better fishing later.
Lures
Hammered through cover and slammed by bass, lures take a lot of abuse during a fishing season. That damage can lead to poor performance. Inspecting and repairing them now will advert that.
Start with the hooks. Make sure barbs haven’t been closed. On treble hooks, make sure each point is straight and sharp. If you find any of these issues, replace the treble hook, which is easy, with a pair of split-ring pliers. Be sure the new hook’s size matches the old. Using a different size hook changes the lure’s balance, affecting its action.
Check split rings, replacing any that have been pulled open. That most often happens when pulling the lure free from a snag. Be sure to inspect any that serve as a line tie.
Look for cracks and chips in protective coatings, especially on balsa and other wooden lures. Small ones can be sealed with a touch of clear nail polish or long-curing epoxy, which doesn’t yellow while drying. If you don’t, water can seep through those openings, destroying the lure’s action at minimum or, at worst, causing it to split open.
Spin the ball-bearing swivels that attach the blade to your spinnerbaits, ensuring they work effortlessly. Examine your buzzbaits, ensuring squeaky blades haven’t ground into the wire. Remove any remnants of soft-plastic trailers and trailer hooks. Make sure the skirt band is tight. If it’s loose, add a couple of thread wraps, a drop of head cement, or a small zip tie.
Check the skirts and hooks on your jigs. Inspect the weed guard, too.
Sometimes you have to say goodbye to a lure. That might mean tossing it in the trash bin. But it also could be placing it in storage. Take a hard look at what you fished and didn’t over the past season. Lures that weren’t used should be taken out of rotation. That will create room for lures you’ll need for new techniques.
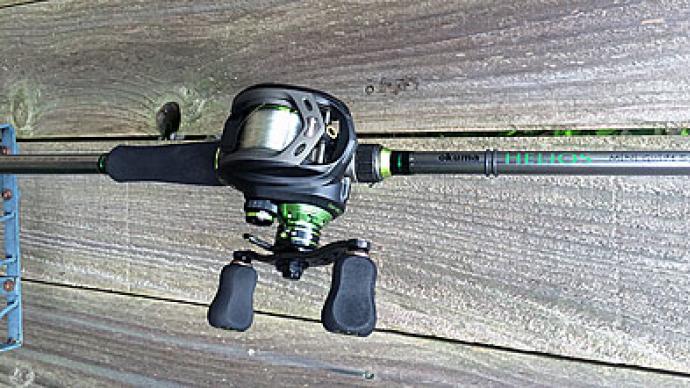
Rods
In the fishing world, rods are a lot like boat trailers. They are essential for fishing but usually only receive attention when something goes wrong. Giving them a once over now could mean the difference between landing your personal best bass and watching it swim away.
Start at the handle. Make sure the reel seat functions properly, taking special note of split seats. Their middles have been eliminated, reducing weight and increasing sensitivity by putting your fingers directly on the blank. It’s possible to separate the parts if the reel is tightened down too much. Check that the cork or foam is in good shape. Divots in cork can be repaired with a commercial filler, a mixture of cork dust, wood glue, and some sanding.
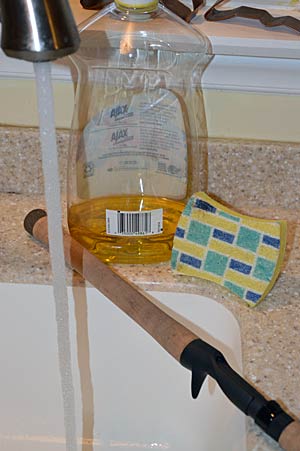
Cleaning foam or cork handles is as easy as walking to your kitchen sink. Wet the handle under a stream of warm water, and rub it with the scrubber side of a kitchen sponge loaded with dish detergent. Add a little elbow grease and thorough rinsing, and your grip will be dirt and bass-slime free, looking and feeling like new.
Work your way up the blank. Look for cracks or chips that could comprise its integrity. If they are cosmetic, check into the possibility of a repair. If they are deeper, consider replacing the rod. Blanks in good shape should receive a coat of spray polish, such as what’s used for furniture. It will make a blank shine and protect it from scuffing on your boat’s carpet as you rocket to your favorite spot.
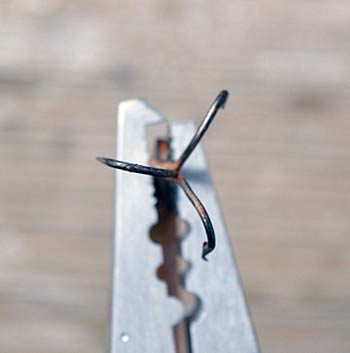
Inspect each line guide. Start at the wraps, making sure they are tight and covered with finish. Then look at the eyes. Their inserts should be in place and smooth. No matter how small, a nick or groove can have a fatal effect on your line, especially when it’s pulled tight. Find them by running a cotton swab around the inside of each eye; cotton will snag on any present, giving away their location. If you find any worn wraps, replace the guide.
Try to twist the top guide gently. It can easily be re-attached with hot glue if it is loose or comes off. Kits for this purpose are readily available online and at many tackle shops.
Line
Chances are good that you’ve kept up with your line throughout the season, changing it regularly to ensure it casts well and remains strong, especially if you’re using monofilament or fluorocarbon. While braided line will last almost forever, it needs periodic inspections for frays or wind knots that have drawn tight. Either can cause it to fail while fishing.
At the end of the season, it’s time to empty your reels. If you’re not already, this is an excellent time to think about using backing — a line added to the spool's bottom to fill space. For a long time, I didn’t, removing and adding line that never saw water each time I respooled. That wastes a lot of money and time.
You can leave the backing on if you aren’t planning to tear down the reel for a thorough clean and lube. But wait until you’re ready to hit the water to spool on new fluorocarbon or monofilament. Sunlight and hot temperatures can weaken fishing line; storing it in its original box keeps it fresh.
An easy way to get even more use out of an already long-lasting braided line. The deeper you get into the spool, the less use the line sees, even with a healthy dose of backing. The yards closest to the backing or spool remain like new. So, if you tie the tag end onto the backing on a second reel and start winding, you can transfer the line onto a second reel with the like-new end ready for use.
Reels
How much attention you pay your reels depends on their accumulated use. All should be wiped down to remove any grime. And back off the drag. Leaving it cranked down can damage its washers, especially those inside casting reels.
If it has been a year of little fishing — you can count the trips on your fingers — then there isn’t much you need to do to your reels. Put them in a safe spot, and they’ll be ready when the weather breaks in spring.
Double that number of fishing trips, and you’ll want to peek inside your reels. Put a drop or two of a high-quality reel oil on each of their bearings, which are usually easily accessible, behind, at most, a couple of turns of a small screwdriver. In casting reels, they are typically found on either side of the spool, under the spool tension knob, and along the handle shaft. If your reel has more bearings, they may be doubled up on some of these spots. Review its schematic drawing to find their exact locations.
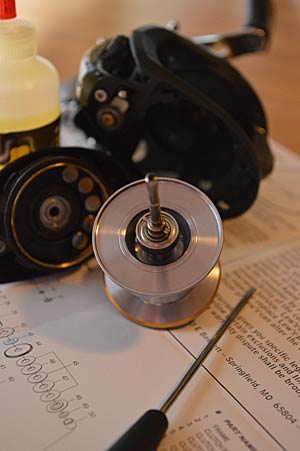
If you were lucky enough to fish more often — once each week— then you put some use on your reels. That means they’re ready for a rebuild. And if you only added oil to the bearings the previous offseason, it is also time to take your reels apart, regardless of how much you fished this season.
If you’re handy, have the schematic drawing and plenty of patience, tearing down, cleaning, lubing, and assembling a reel isn’t difficult. You’ll need a clean and well-lit workplace, a few small screwdrivers and wrenches, a degreasing solution, and the appropriate oil for bearings and grease for gears and bushings. Other handy tools are cotton swaps to clean old grease and grime from small cavities, such as the tube where the level wind gear rotates, an old toothbrush to clean gear teeth, and plenty of paper towels.
When your reel is apart is an excellent time to replace any bearings that might be chattering on casts or other warn parts, such as the anti-reverse. Spinning reels should be serviced, too. But most contain more parts than casting reels. So, if you’re unsure about getting yours back together, there’s no shame in taking them to the local service center.