When considering how to lay out the deck for the boat project, we looked at several different options. One method would be to cover the whole deck of the boat to get the maximum amount of space for casting and building storage boxes. The problem with this method was that since the boat is a tiller steer, the driver would be sitting very high and would be put to the test when driving the boat. Without a deck, the driver can sit lower in the boat, providing better stability and less bending.
The other method would be to place a floor on the bottom, but the problem here was that the sides of the boat would be too high for effective flipping and pitching, and the floor would end up cluttered with tackle boxes and aluminum cans.
A method utilized in Japan provided the answer. There are several companies selling14-foot aluminum boats that only have the first half, or three-quarters of a boat decked, and the stern is left open.
The logic here is obvious. The angler still has a large casting deck and a place for a good butt seat. But, even if there is more than one angler, there are places to sit low in the boat once underway.
The other benefit of this layout is weight balance. The stern holds an outboard motor, a fuel tank holding a minimum of six gallons, and the boat driver. Altogether, this can add up to 350 pounds located in the back of the boat. By building the deck on the bow of the boat and placing tackle storage boxes and the trolling motor and battery there as well, the craft becomes much more balanced, further enhancing stability.
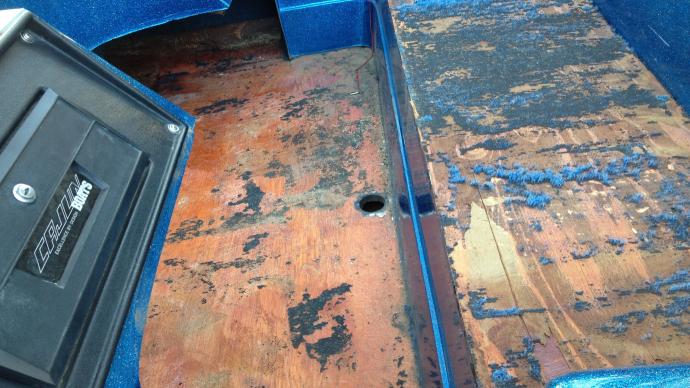
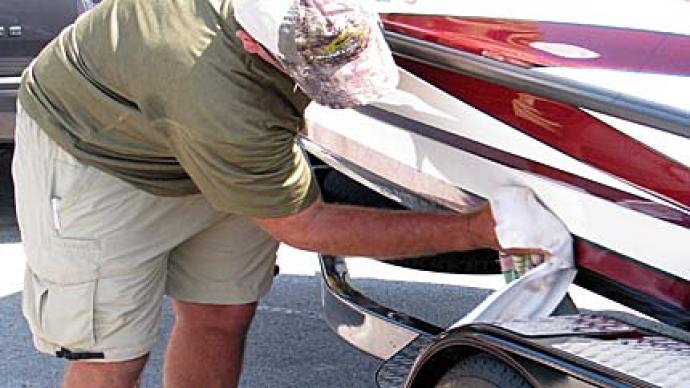
Before getting started on the deck and storage areas, we finished stripping off the old paint and started preparing for a new paint job.
The first thing to do was to find any places where the riveted boat might leak. We used liquid solder to seal up any areas of concern. Amazingly, this product works extremely well for this type of sealing job. It's fast, easy to use, and can even be sanded smooth. I would suggest roughing up the surface before applying and then gently sanding it smooth after allowing it to set up for at least 24 hours.
Because of its age, our boat was not designed for a 6-gallon fuel tank that would fit behind the driver's seat. To make the larger tank fit, we had to cut a small section (approximately two inches wide by three inches deep) to get the tank in place.
Again, to help enhance balance, the driver's swivel seat was placed on the port side, and the fuel tank on the starboard. Since the throttle control leans to the port side, I can control the craft easier since I don't have to bend my arm behind me to steer and control the throttle.
In Part III of our project, we will show you all the final preparations and list parts and prices.
Return to Building A Bass Boat Part 1
Reprinted with permission from Bass West Magazine